Overview
Screenshots and photos often contain details that should not be published. Blur and mosaic effects can protect private information, but only when applied strongly enough and checked before export.
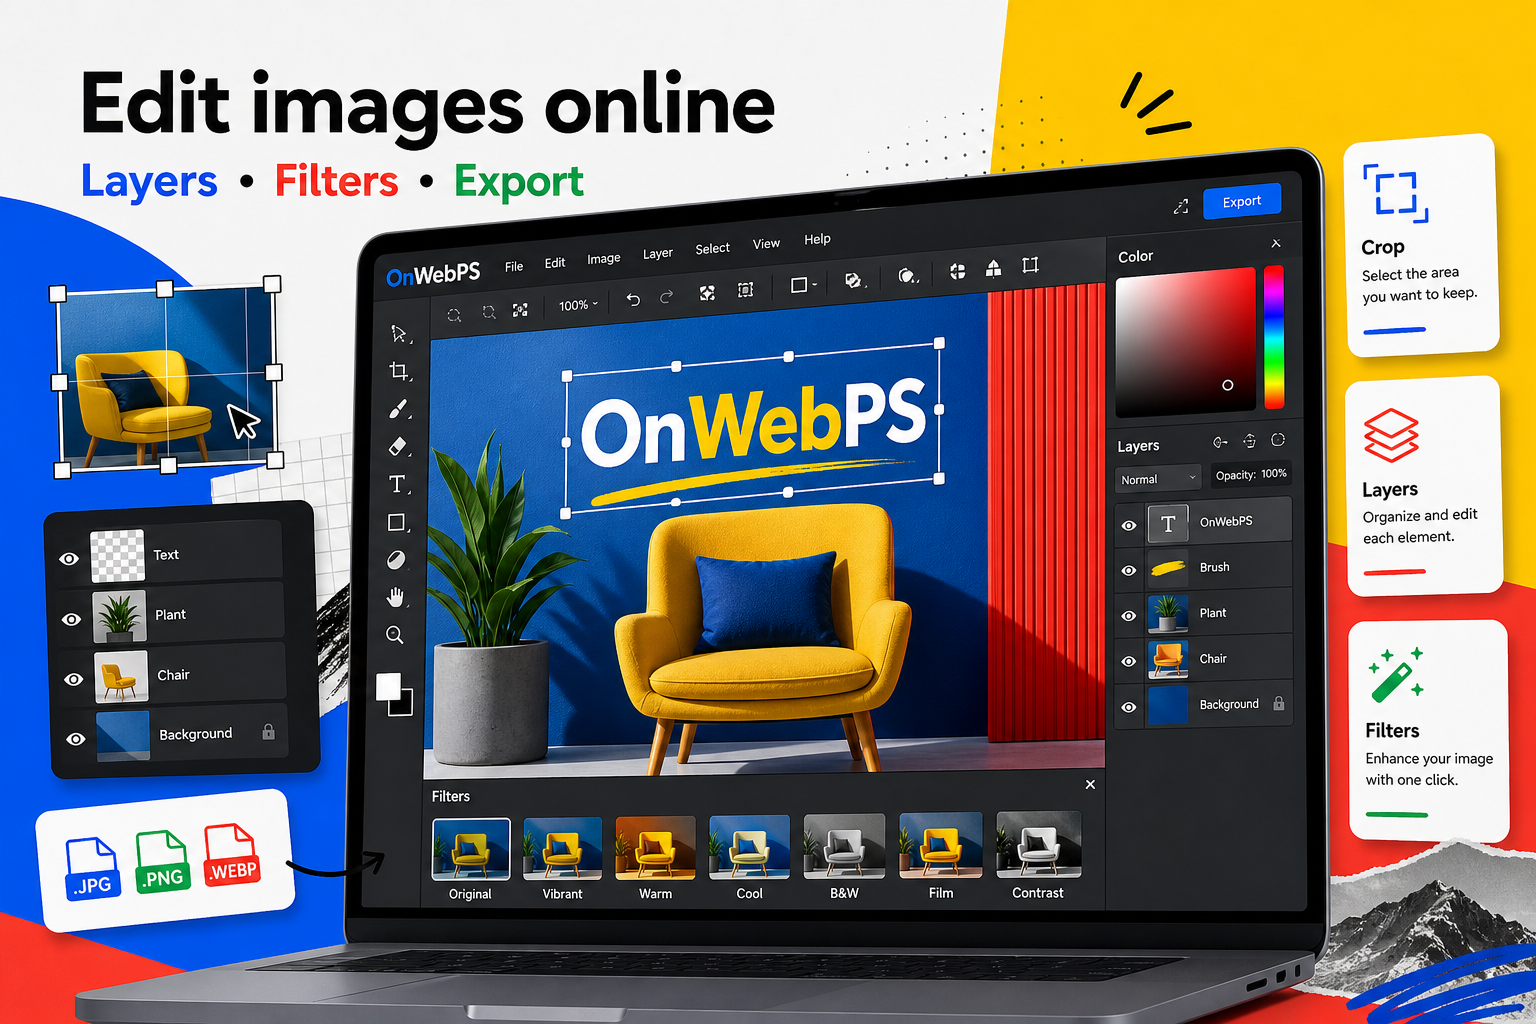
Use a copy of important images, keep reusable elements on separate layers, and decide the final destination before choosing crop, size, and export format.

Identify everything sensitive
Look for names, addresses, phone numbers, order IDs, faces, plates, QR codes, browser tabs, and notification previews. Sensitive information can appear in corners, reflections, and background objects, not only in the obvious subject.
In OnWebPS, keep the workflow practical: work on a duplicate when the change is risky, compare the edited result with the original, and export only after checking the image at the size where people will actually see it.
Use a separate working layer
Duplicate the image before redacting. Apply blur, mosaic, or painted blocks on the duplicate or on a new layer. This lets you compare the hidden area and avoid damaging the source file.
In OnWebPS, keep the workflow practical: work on a duplicate when the change is risky, compare the edited result with the original, and export only after checking the image at the size where people will actually see it.
Make redaction strong enough
A tiny blur may still be readable, especially on text. For private data, use a strong mosaic, solid block, or repeated blur pass. Zoom out and zoom in again to check whether the information can be guessed.
In OnWebPS, keep the workflow practical: work on a duplicate when the change is risky, compare the edited result with the original, and export only after checking the image at the size where people will actually see it.
Keep useful context visible
Do not hide more than needed. A tutorial screenshot may still need the menu, button, or layout visible. Redact the private value while keeping the surrounding interface understandable.
In OnWebPS, keep the workflow practical: work on a duplicate when the change is risky, compare the edited result with the original, and export only after checking the image at the size where people will actually see it.
Export a flattened safe version
When you finish, export a normal image file for sharing. Do not share an editable project that contains the original unredacted layer unless the recipient is trusted and needs it.
In OnWebPS, keep the workflow practical: work on a duplicate when the change is risky, compare the edited result with the original, and export only after checking the image at the size where people will actually see it.
Concrete example
Example project: sharing a software screenshot safely
Before publishing a screenshot, scan the tab bar, account menu, filenames, email addresses, and notification areas. Apply a strong mosaic or solid block over private data while leaving the menu or button being explained visible.
Common mistake
Common mistake: using a blur that is too weak
Small text can sometimes be guessed through a light blur. For private information, use strong mosaic, repeated blur, or a solid cover shape.
Practical FAQ
Is blur always enough for private data?
No. For names, IDs, addresses, and order numbers, a solid block or strong mosaic is safer than a mild blur.
Final checklist
- Scan corners and backgrounds for private data.
- Duplicate before redacting.
- Use strong effects for text and numbers.
- Keep instructional context visible.
- Export a safe flattened file.
This guide is intentionally practical: repeat the same steps on a real image, compare the before and after result, and keep the version that communicates the task most clearly.