Overview
ID-style photos need consistency more than decoration. The face should be centered, the shoulders should be balanced, the background should be plain, and the export should keep enough detail for the required use.
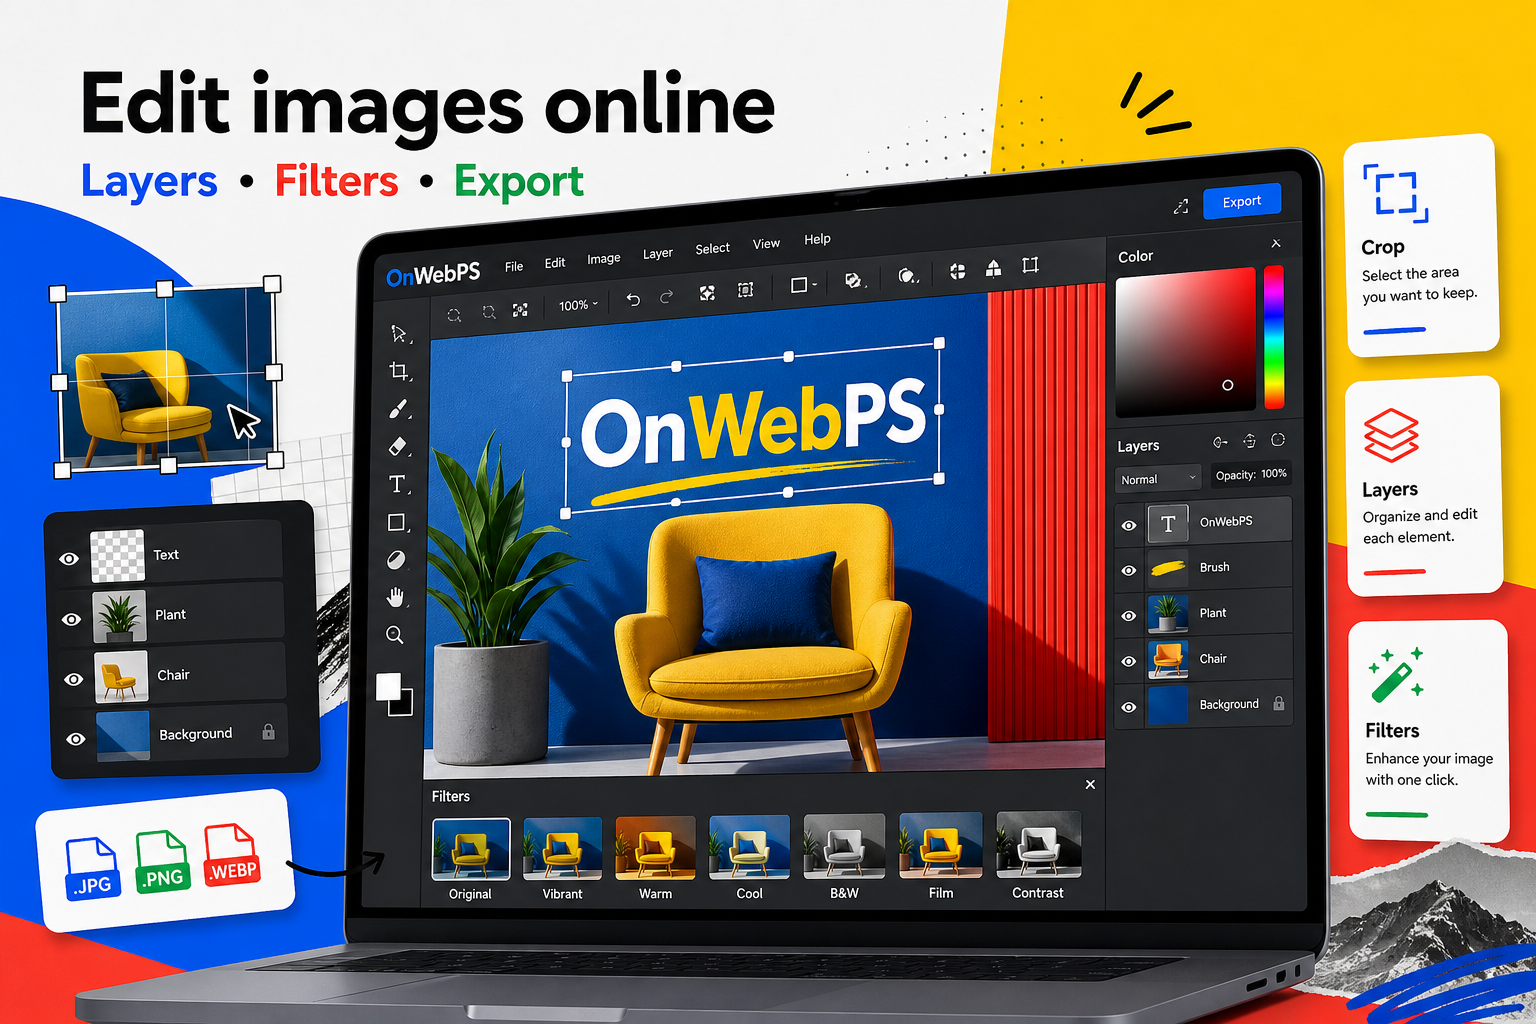
Use a copy of important images, keep reusable elements on separate layers, and decide the final destination before choosing crop, size, and export format.

Choose a suitable source
Start with a sharp front-facing portrait. Avoid strong shadows, tilted heads, hats, heavy filters, or busy backgrounds. A clean source photo saves much more time than trying to repair a difficult image later.
In OnWebPS, keep the workflow practical: work on a duplicate when the change is risky, compare the edited result with the original, and export only after checking the image at the size where people will actually see it.
Crop with enough room
Keep the head centered and leave space above the hair and around the shoulders. Do not crop too tightly. If you need a specific official size, check the requirements from the organization before exporting.
In OnWebPS, keep the workflow practical: work on a duplicate when the change is risky, compare the edited result with the original, and export only after checking the image at the size where people will actually see it.
Make the background simple
Use selection tools to isolate the person when the background needs replacement. Add a plain color layer behind the portrait. Common ID backgrounds are white, light blue, or light gray, but the correct color depends on the requirement.
In OnWebPS, keep the workflow practical: work on a duplicate when the change is risky, compare the edited result with the original, and export only after checking the image at the size where people will actually see it.
Adjust gently
Increase brightness if the image is too dark and reduce excessive contrast if shadows are harsh. Avoid smoothing the face until it loses natural detail. ID photos should look clean but realistic.
In OnWebPS, keep the workflow practical: work on a duplicate when the change is risky, compare the edited result with the original, and export only after checking the image at the size where people will actually see it.
Export a clear copy
Save a high-quality JPG for ordinary use unless transparency is required. Give the file a descriptive name and keep the original photo separate in case a different crop or background color is needed later.
In OnWebPS, keep the workflow practical: work on a duplicate when the change is risky, compare the edited result with the original, and export only after checking the image at the size where people will actually see it.
Concrete example
Example project: a clean profile document photo
Choose a front-facing portrait, crop with space around the head and shoulders, replace a distracting wall with a plain light background, and export a high-quality JPG. Keep the original file in case another size is requested later.
Common mistake
Common mistake: over-smoothing the face
ID-style photos should remain realistic. Heavy smoothing can remove natural detail and make the image look artificial or unacceptable for formal uses.
Practical FAQ
Can I use this for official passport requirements?
Only if you also follow the exact rules from the issuing organization. This guide explains editing technique, not legal document requirements.
Final checklist
- Use a sharp front-facing portrait.
- Check official size rules when required.
- Keep the background plain.
- Avoid heavy beauty filters.
- Save the original separately.
This guide is intentionally practical: repeat the same steps on a real image, compare the before and after result, and keep the version that communicates the task most clearly.