Overview
A product photo should help people understand the item quickly. It does not need extreme effects. It needs accurate color, clean edges, readable detail, and a file size that does not slow the store page.
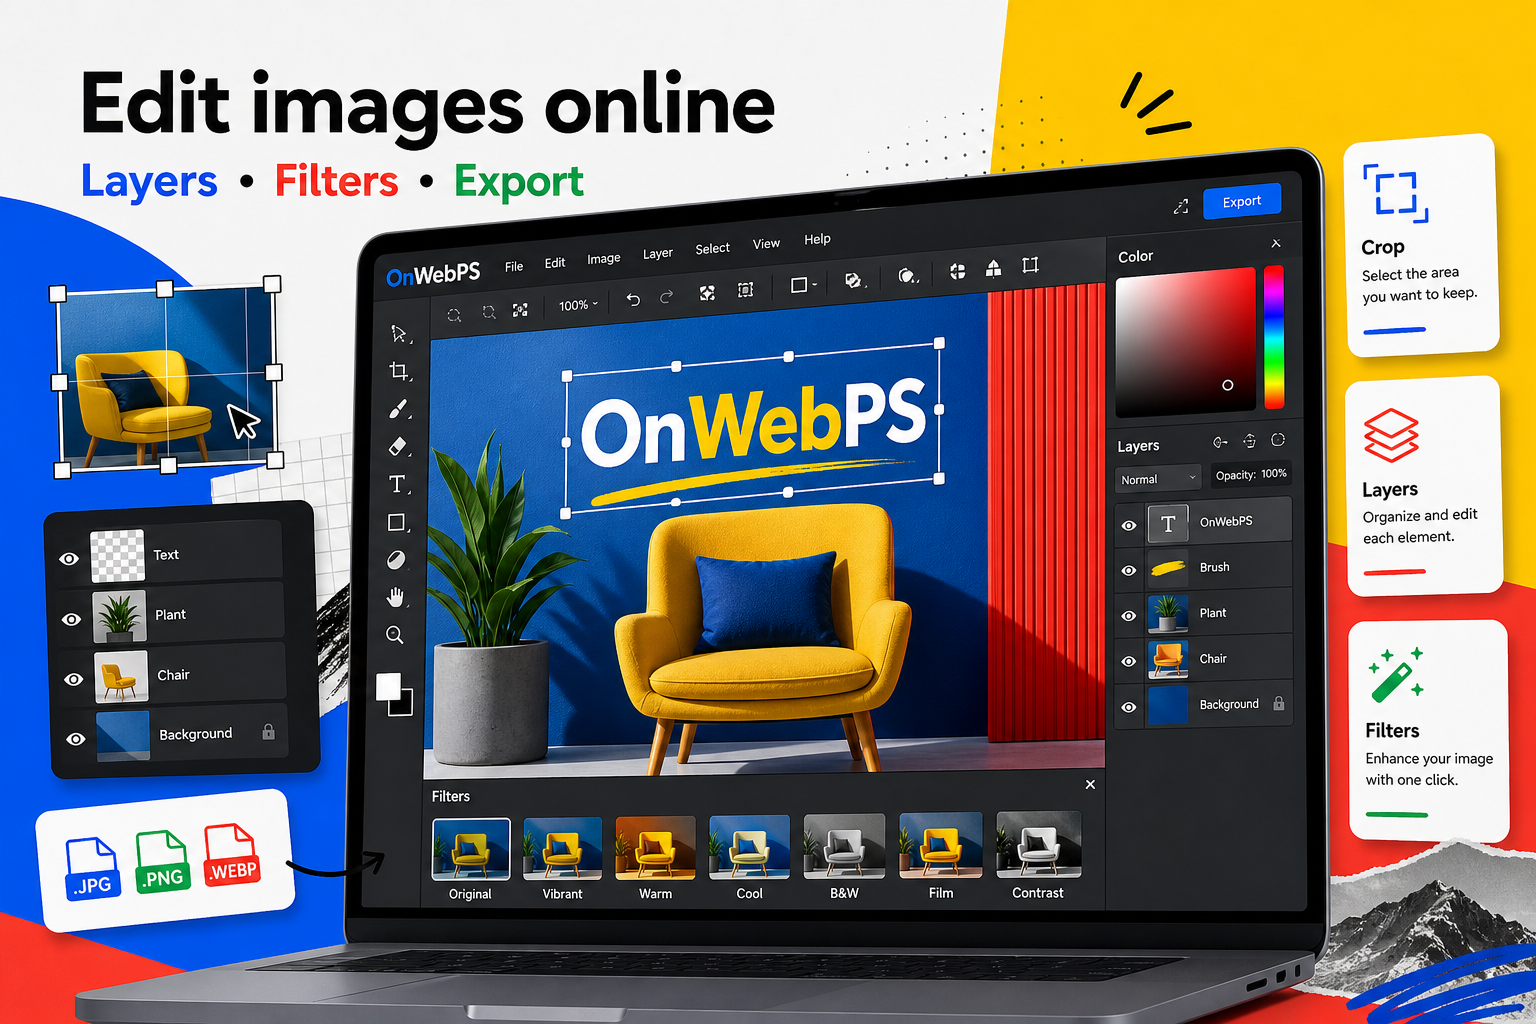
Use a copy of important images, keep reusable elements on separate layers, and decide the final destination before choosing crop, size, and export format.

Straighten the item
Open the image and correct obvious tilt before any detailed retouching. A product that leans accidentally can make the page feel unpolished. Use crop and rotate adjustments to create a stable frame.
In OnWebPS, keep the workflow practical: work on a duplicate when the change is risky, compare the edited result with the original, and export only after checking the image at the size where people will actually see it.
Clean the background
Remove dust, marks, and small distractions on a duplicate layer. If the background is plain, keep it plain. Heavy textures and dramatic filters can distract from the product itself.
In OnWebPS, keep the workflow practical: work on a duplicate when the change is risky, compare the edited result with the original, and export only after checking the image at the size where people will actually see it.
Keep color believable
Adjust brightness and contrast first. Then correct saturation only if needed. Product color should be honest because buyers use the image to make decisions. Avoid filters that change the actual color of fabric, packaging, or materials.
In OnWebPS, keep the workflow practical: work on a duplicate when the change is risky, compare the edited result with the original, and export only after checking the image at the size where people will actually see it.
Add helpful labels sparingly
If you add text, use it for real information such as size, material, or a simple feature callout. Keep labels away from the product edge and use enough padding so the graphic feels professional.
In OnWebPS, keep the workflow practical: work on a duplicate when the change is risky, compare the edited result with the original, and export only after checking the image at the size where people will actually see it.
Export for speed
Store pages often show many images at once. Use JPG or WebP for most product photos and keep dimensions appropriate for the layout. A clear 1200 pixel image is often more useful than a huge camera original.
In OnWebPS, keep the workflow practical: work on a duplicate when the change is risky, compare the edited result with the original, and export only after checking the image at the size where people will actually see it.
Concrete example
Example project: cleaning a handmade product listing
Straighten the photo, crop to show the product clearly, remove dust marks from the background, correct brightness, and export a WebP image for the product page. Keep the color accurate so the buyer sees the real material.
Common mistake
Common mistake: using beauty filters on product photos
Strong filters can change fabric, packaging, or food color. For store images, trust is more important than drama. Keep corrections natural.
Practical FAQ
What file type should I use for product photos?
WebP or JPG works well for most product photos. Use PNG only when you need transparency or very sharp graphic edges.
Final checklist
- Straighten before retouching.
- Remove small distractions only.
- Preserve accurate product color.
- Use labels for useful information.
- Compress for faster product pages.
This guide is intentionally practical: repeat the same steps on a real image, compare the before and after result, and keep the version that communicates the task most clearly.