Overview
A collage is a practical way to show a process, compare before and after images, or collect several moments into one graphic. The trick is to organize the canvas before adding decoration.
Use a copy of important images, keep reusable elements on separate layers, and decide the final destination before choosing crop, size, and export format.

Set the canvas first
Create a canvas size that matches the final destination. A square collage works well for social posts, while a wide collage can support article headers or comparison graphics.
In OnWebPS, keep the workflow practical: work on a duplicate when the change is risky, compare the edited result with the original, and export only after checking the image at the size where people will actually see it.
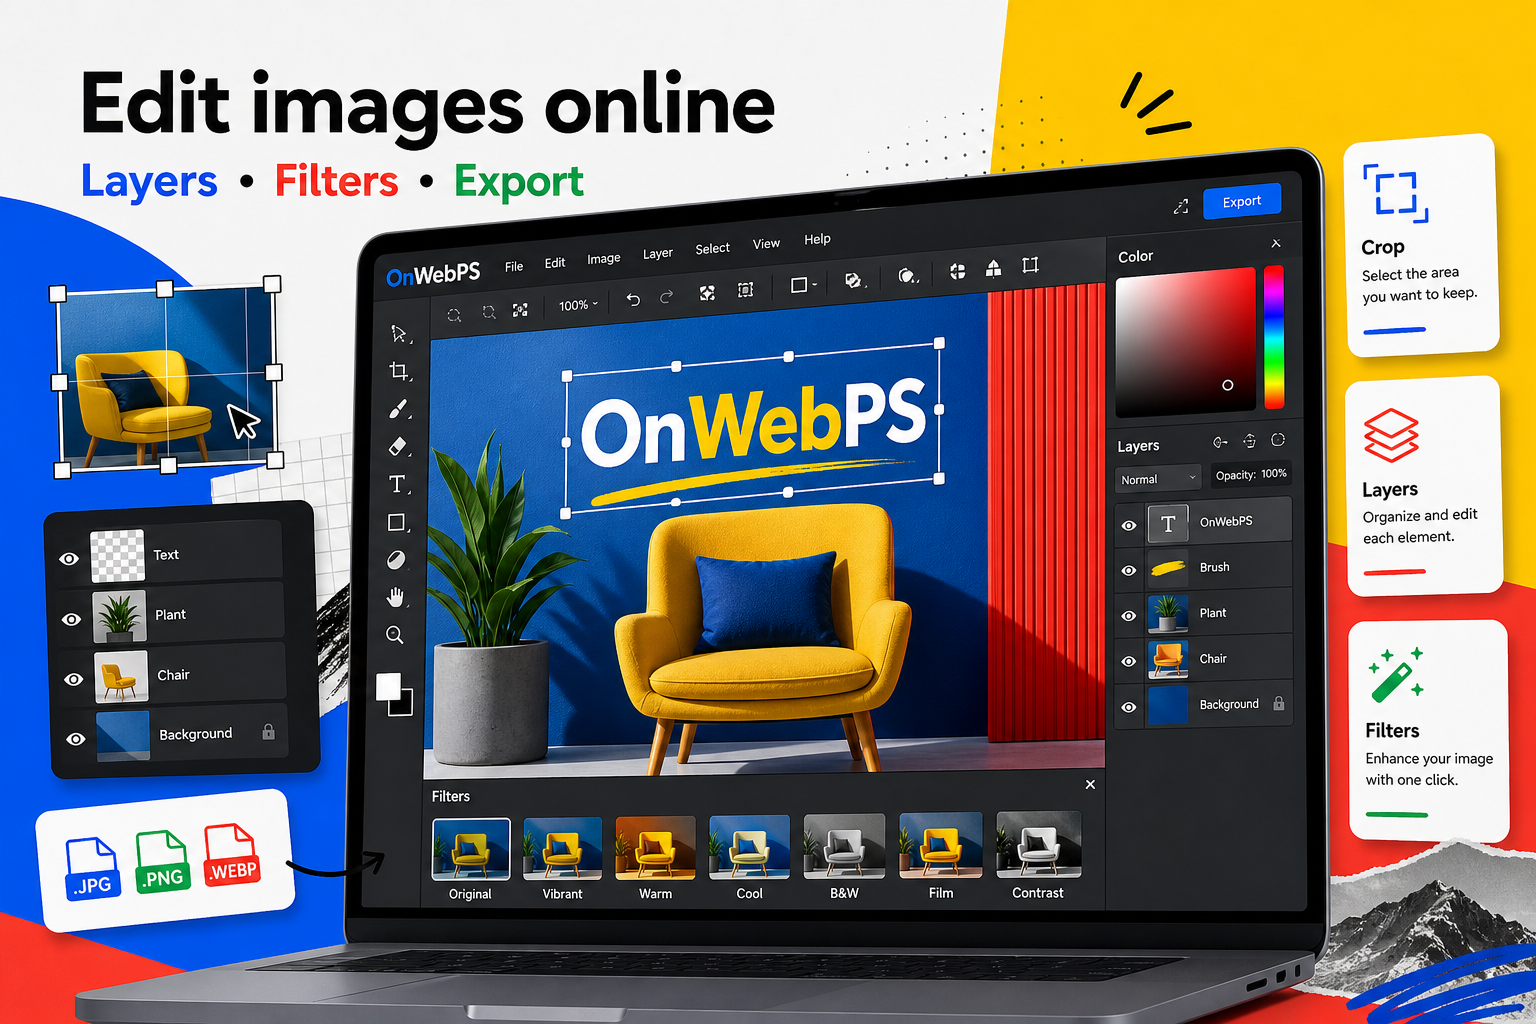
Import each image as a layer
Place every photo on its own layer. This makes it easy to move, resize, hide, or replace one image without disturbing the rest of the layout. Keep the layer order simple.
In OnWebPS, keep the workflow practical: work on a duplicate when the change is risky, compare the edited result with the original, and export only after checking the image at the size where people will actually see it.
Use consistent spacing
Equal spacing makes a collage feel intentional. Use guides or visual alignment to keep margins consistent. A simple grid usually looks cleaner than several randomly tilted images.
In OnWebPS, keep the workflow practical: work on a duplicate when the change is risky, compare the edited result with the original, and export only after checking the image at the size where people will actually see it.
Match color and brightness
Photos from different sources may not match. Adjust brightness, contrast, or saturation gently so the collage feels like one set. Avoid making one image much louder than the others unless it is the main focus.
In OnWebPS, keep the workflow practical: work on a duplicate when the change is risky, compare the edited result with the original, and export only after checking the image at the size where people will actually see it.
Add labels only if needed
Labels can explain a sequence or comparison, but they should be short. Put labels in a consistent place on each image and keep the text size readable at final output size.
In OnWebPS, keep the workflow practical: work on a duplicate when the change is risky, compare the edited result with the original, and export only after checking the image at the size where people will actually see it.
Concrete example
Example project: a four-step before-and-after collage
Create a wide canvas, place four screenshots as separate layers, align them in a grid, add small step labels, and export a single article image. This is useful for tutorials because readers can compare stages quickly.
Common mistake
Common mistake: inconsistent spacing
Random gaps make a collage look unfinished. Use equal margins and consistent label placement so the viewer can scan it easily.
Practical FAQ
Should collage images all be the same size?
For instructional collages, yes in most cases. Equal sizes make comparisons easier unless one image is intentionally the hero.
Final checklist
- Choose final canvas dimensions first.
- Keep each photo on its own layer.
- Use equal spacing.
- Balance brightness across images.
- Add short consistent labels.
This guide is intentionally practical: repeat the same steps on a real image, compare the before and after result, and keep the version that communicates the task most clearly.