Overview
A beautiful image can still hurt a website if it is too large. Web export is about choosing a format, dimensions, and quality level that preserve the message while keeping the page fast.
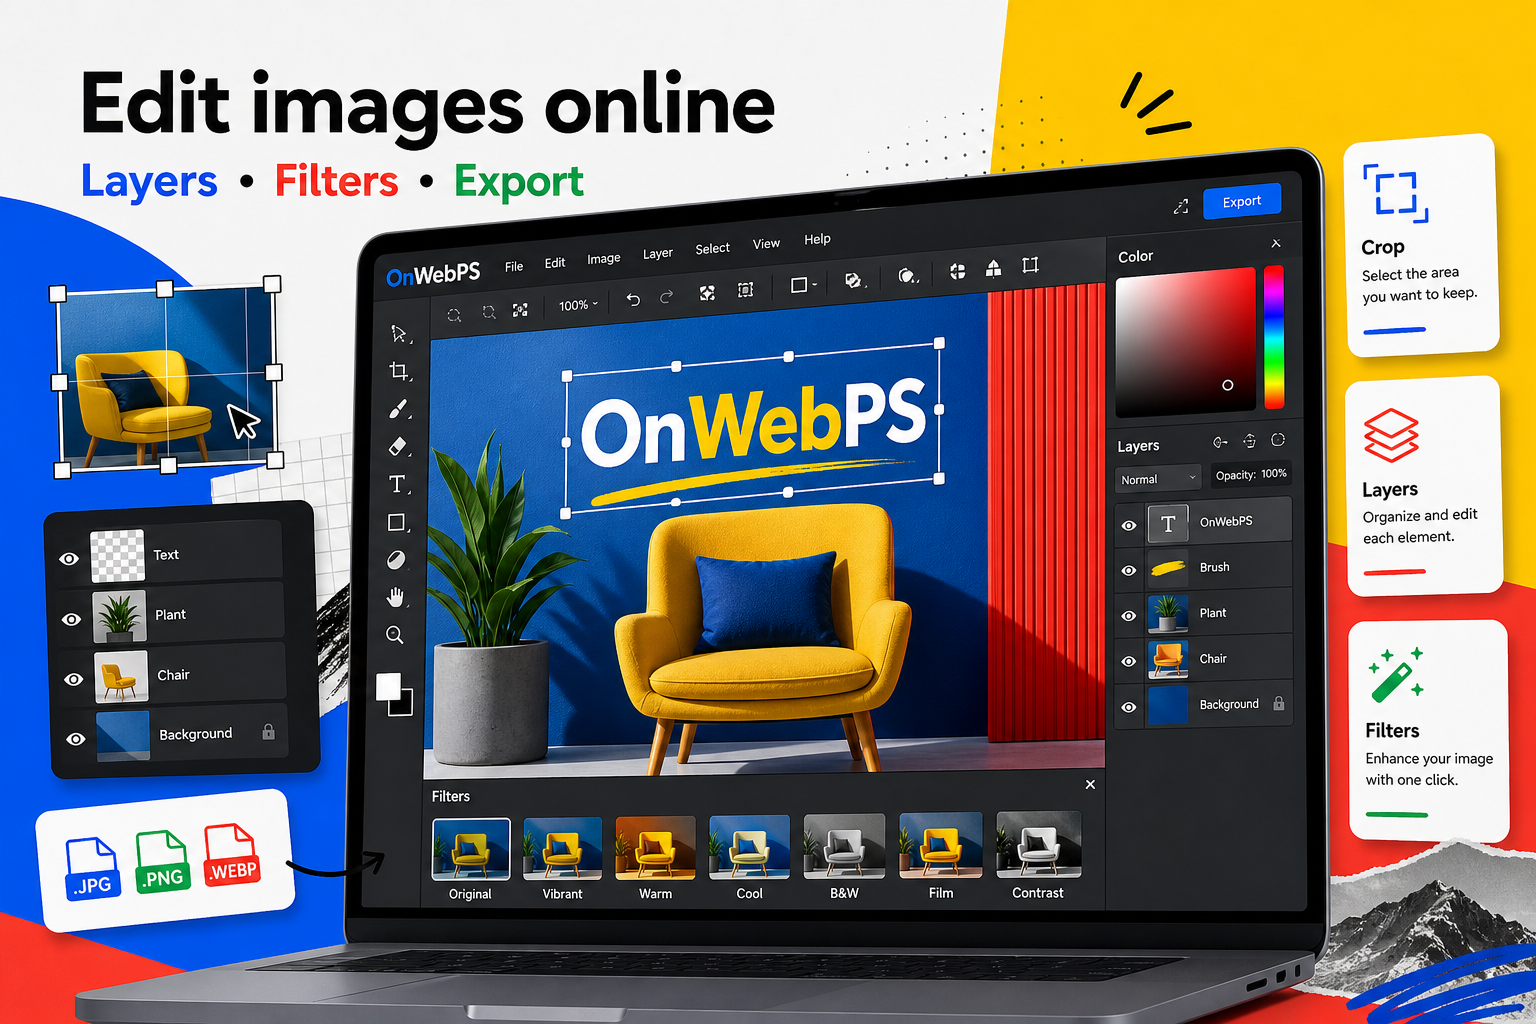
Use a copy of important images, keep reusable elements on separate layers, and decide the final destination before choosing crop, size, and export format.

Resize before export
Do not upload a camera original when the page displays a small card. Resize to the largest size the layout actually needs, then export. This reduces file size before compression even begins.
In OnWebPS, keep the workflow practical: work on a duplicate when the change is risky, compare the edited result with the original, and export only after checking the image at the size where people will actually see it.
Choose the right format
PNG is best for transparency and sharp graphics. JPG is reliable for photos. WebP often gives excellent quality at smaller file sizes for web use. Choose based on the content, not habit.
In OnWebPS, keep the workflow practical: work on a duplicate when the change is risky, compare the edited result with the original, and export only after checking the image at the size where people will actually see it.
Avoid heavy text in images
Text inside an image cannot reflow like HTML text and can become blurry after compression. Use image text only when it is part of the graphic, and keep important page information in real text.
In OnWebPS, keep the workflow practical: work on a duplicate when the change is risky, compare the edited result with the original, and export only after checking the image at the size where people will actually see it.
Compare quality levels
Export a version, check the file size, and inspect the image. If a slightly lower quality setting looks the same at final size, use the smaller file. If artifacts appear around text or edges, raise quality or use PNG.
In OnWebPS, keep the workflow practical: work on a duplicate when the change is risky, compare the edited result with the original, and export only after checking the image at the size where people will actually see it.
Use descriptive filenames
Names such as product-cleanup-before-after.webp are easier to manage than final-final-2.jpg. Descriptive filenames also help your publishing workflow stay organized.
In OnWebPS, keep the workflow practical: work on a duplicate when the change is risky, compare the edited result with the original, and export only after checking the image at the size where people will actually see it.
Concrete example
Example project: replacing a heavy article image
Resize a 3 MB photo to the displayed width, export WebP, and compare quality. If the new file is under a few hundred kilobytes and looks the same in the layout, it is a better publishing asset.
Common mistake
Common mistake: uploading camera originals
Huge originals slow the page and do not help if the layout only displays a small image. Resize before upload whenever possible.
Practical FAQ
Which is best for the web: PNG, JPG, or WebP?
Use WebP for many web photos, JPG for broad compatibility, and PNG for transparency or sharp graphics.
Final checklist
- Resize to the displayed need.
- Use PNG for transparency.
- Use JPG or WebP for photos.
- Inspect compression artifacts.
- Name files clearly.
This guide is intentionally practical: repeat the same steps on a real image, compare the before and after result, and keep the version that communicates the task most clearly.