Overview
A good first edit should teach the whole rhythm of image editing without becoming complicated. In this guide you will open a photo, understand the workspace, protect the original layer, make a crop, add a small piece of text, adjust color gently, and export the right format.
Use a copy of important images, keep reusable elements on separate layers, and decide the final destination before choosing crop, size, and export format.

Know the workspace
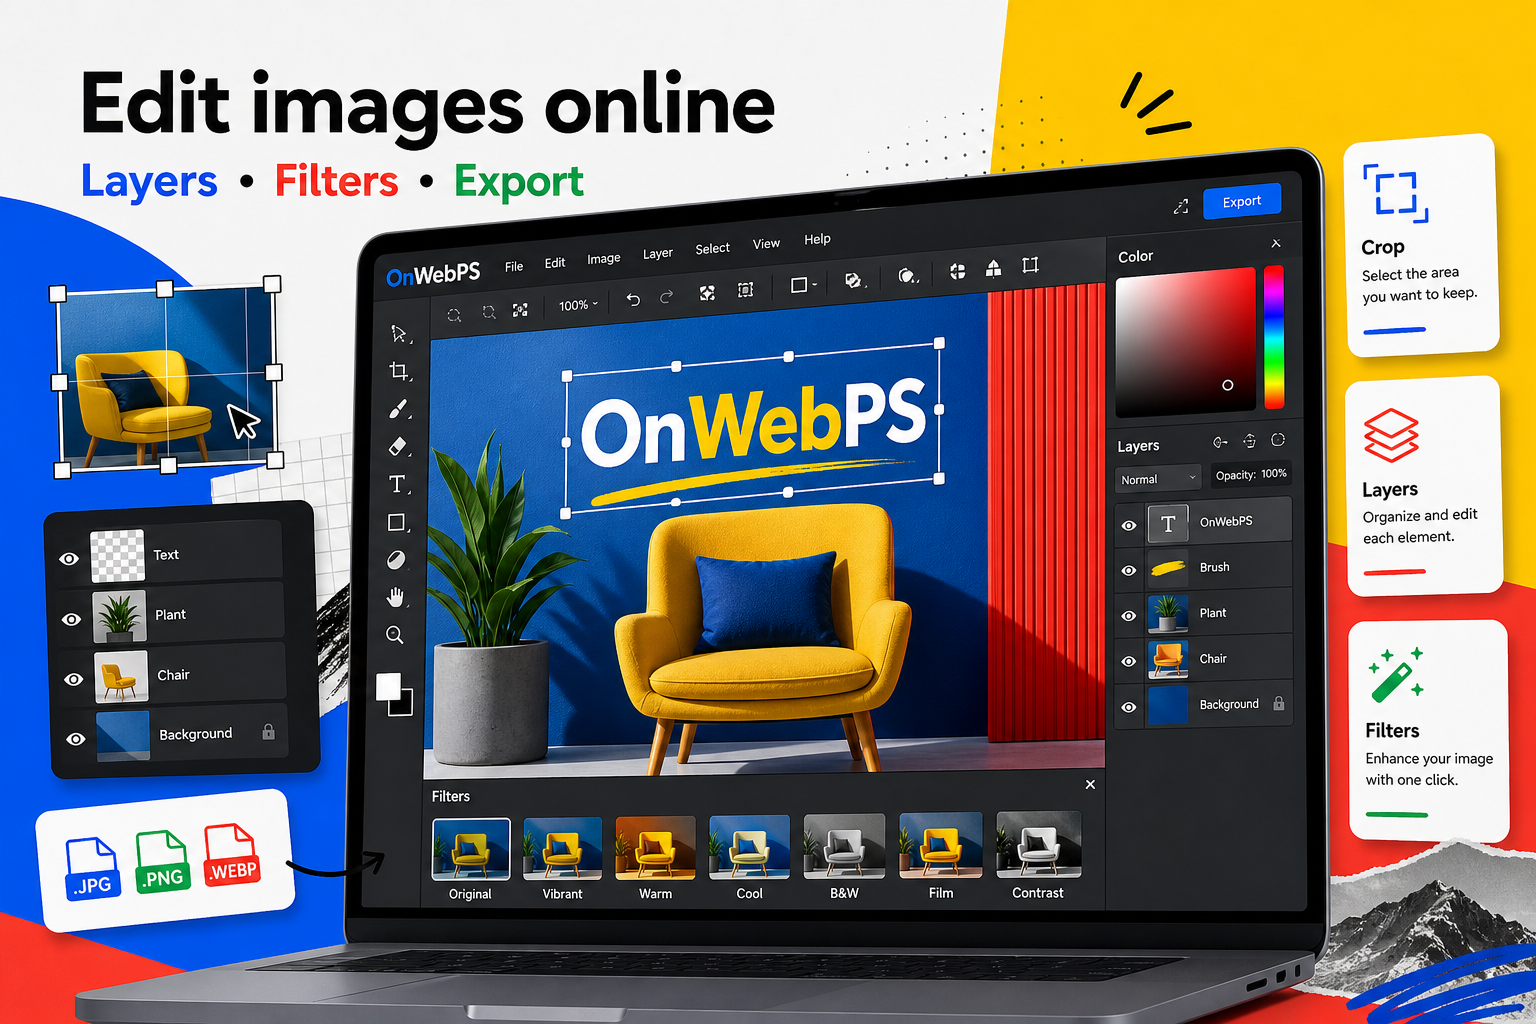
The canvas is where you judge the image. The toolbar gives you tools such as crop, select, brush, text, shape, fill, clone, blur, and color picker. The layer panel decides which element receives your next action. Before editing, locate these three areas and check which layer is active.
In OnWebPS, keep the workflow practical: work on a duplicate when the change is risky, compare the edited result with the original, and export only after checking the image at the size where people will actually see it.
Open and protect the image
Open an image from your device, then duplicate the base layer if the file matters. Keeping an untouched layer gives you a simple safety net. If a crop, filter, or paint stroke does not work, you can hide the working layer and return to the original.
In OnWebPS, keep the workflow practical: work on a duplicate when the change is risky, compare the edited result with the original, and export only after checking the image at the size where people will actually see it.
Crop before decorating
Cropping decides what the viewer notices first. Remove empty edges, keep the subject clear, and choose a final ratio that matches the destination. For a blog preview, 1200 by 630 is often useful. For a square profile image, keep the face or product centered with enough breathing room.
In OnWebPS, keep the workflow practical: work on a duplicate when the change is risky, compare the edited result with the original, and export only after checking the image at the size where people will actually see it.
Add only useful text
Use the text tool for labels, titles, and short calls to action. Put text on its own layer and place it away from busy details. If the photo is hard to read behind the text, add a simple shape with lower opacity behind the words.
In OnWebPS, keep the workflow practical: work on a duplicate when the change is risky, compare the edited result with the original, and export only after checking the image at the size where people will actually see it.
Export with intent
Choose PNG when you need transparency or sharp interface graphics. Choose JPG for ordinary photos. Choose WebP when you want a modern web-friendly balance of quality and file size. Check spelling, edges, and file size before using the image online.
In OnWebPS, keep the workflow practical: work on a duplicate when the change is risky, compare the edited result with the original, and export only after checking the image at the size where people will actually see it.
Concrete example
Example project: a clean course thumbnail
Imagine you have a classroom screenshot and need a 1200 by 630 course thumbnail. Open the screenshot, duplicate the base layer, crop away the browser chrome, place the lesson title on a quiet area, and export a WebP copy for the article page. The result is simple, but it uses the same decisions you will repeat in larger projects: protect the original, crop for the message, add only useful text, and check the final file size.
Common mistake
Common mistake: editing before choosing the goal
Beginners often try filters, text, and shapes before deciding where the image will be used. That creates extra work because a social post, article header, and profile image need different ratios. Pick the destination first, then edit around that constraint.
Practical FAQ
Should I use OnWebPS for one quick edit or for a full design?
Use it for both, but keep the file organized when the design has more than one element. A quick crop can stay simple. A design with text, labels, and effects should use separate layers so you can revise it later.
Final checklist
- Confirm the active layer before editing.
- Crop for the message, not only for size.
- Keep text short and readable.
- Make color changes gradually.
- Export the format that matches the final use.
This guide is intentionally practical: repeat the same steps on a real image, compare the before and after result, and keep the version that communicates the task most clearly.