Overview
Advanced editing is not about using every tool. It is about making controlled decisions. Before selecting, cloning, filtering, or compositing, decide what the final image must communicate and what should stay natural.
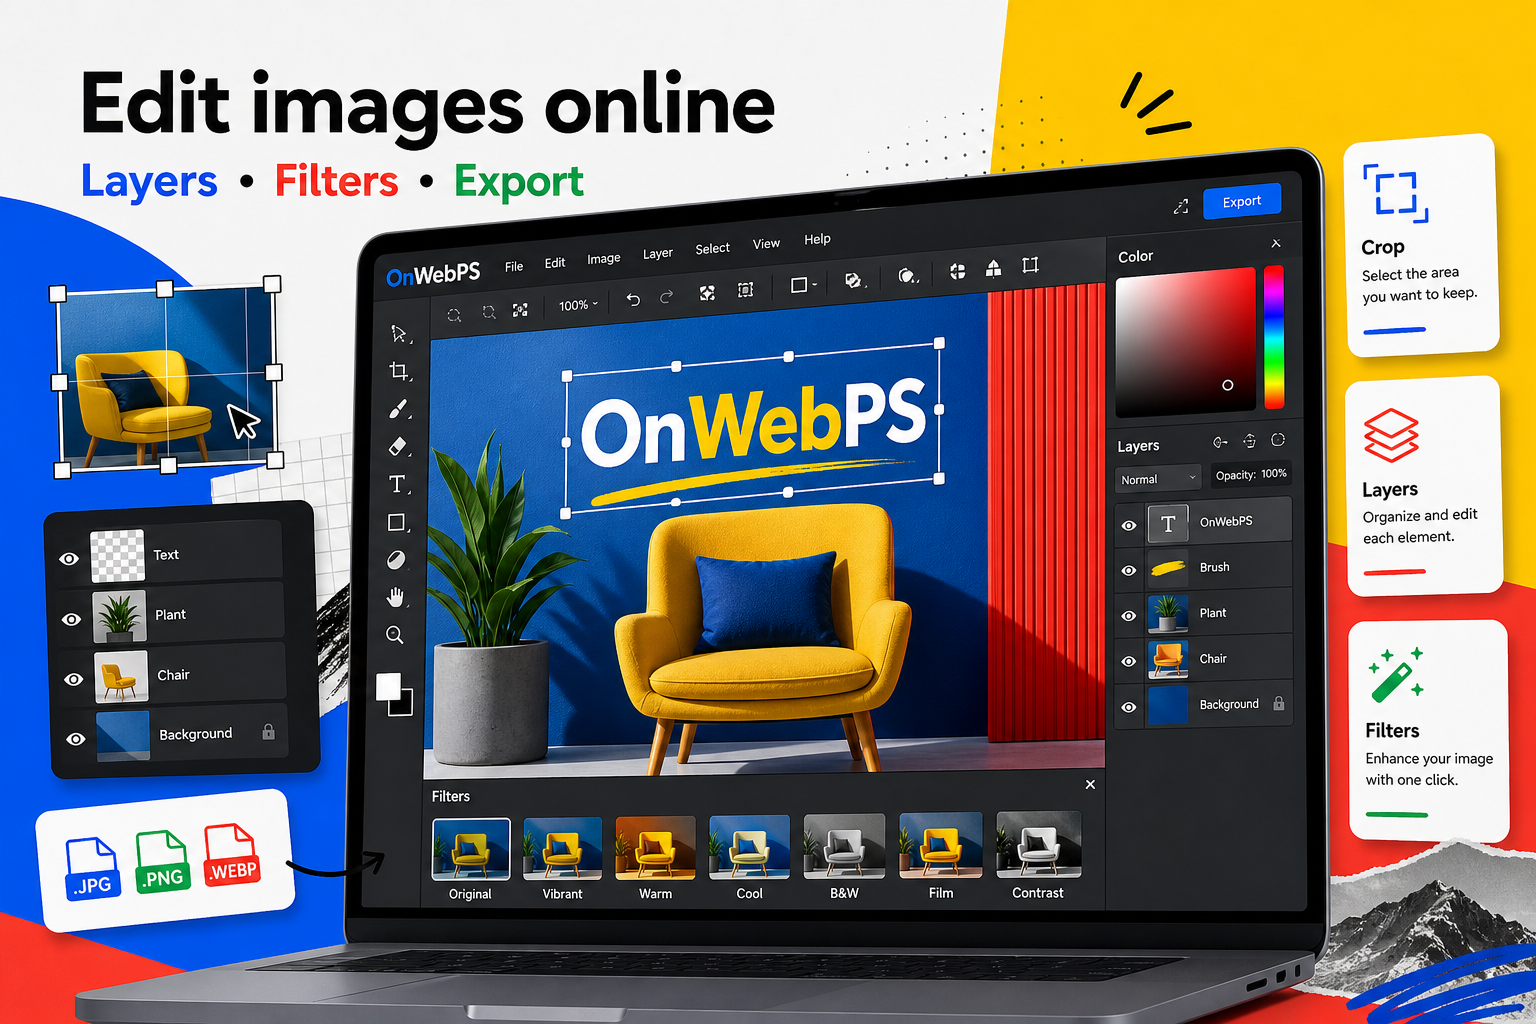
Use a copy of important images, keep reusable elements on separate layers, and decide the final destination before choosing crop, size, and export format.

Plan before touching pixels
Inspect the image at full view and close zoom. At full view you judge composition and hierarchy. Up close you find halos, dust, compression, and edge problems. Make a short plan before you spend time on details that may not matter in the final image.
In OnWebPS, keep the workflow practical: work on a duplicate when the change is risky, compare the edited result with the original, and export only after checking the image at the size where people will actually see it.
Build better selections
Hard objects such as packaging, screens, and signs need crisp selections. Hair, fabric, plants, and smoke need softer transitions. Zoom in and check the border against different backgrounds before you trust the cutout.
In OnWebPS, keep the workflow practical: work on a duplicate when the change is risky, compare the edited result with the original, and export only after checking the image at the size where people will actually see it.
Retouch small distractions
Use clone or repair-style work in small passes. Sample from nearby areas with similar brightness and texture. Large smears and repeated patterns are easy to notice, especially on skin, fabric, paper, and product backgrounds.
In OnWebPS, keep the workflow practical: work on a duplicate when the change is risky, compare the edited result with the original, and export only after checking the image at the size where people will actually see it.
Match color and light
When combining images, the subject and background must share believable brightness, contrast, and color temperature. Match overall brightness first, then contrast, then saturation. Add a soft shadow if the subject appears to float.
In OnWebPS, keep the workflow practical: work on a duplicate when the change is risky, compare the edited result with the original, and export only after checking the image at the size where people will actually see it.
Review at output size
A composite can look polished at 100 percent and fail as a thumbnail. View the image at its final display size, check text, edges, shadows, and file size, then export in the format that fits the destination.
In OnWebPS, keep the workflow practical: work on a duplicate when the change is risky, compare the edited result with the original, and export only after checking the image at the size where people will actually see it.
Concrete example
Example project: placing a product on a new background
Cut out a product, place it on a clean color background, match brightness, add a soft contact shadow, and review the edge at 100 percent zoom. This small composite teaches the same skills used in more complex edits: selection quality, color matching, shadow logic, and final-size review.
Common mistake
Common mistake: ignoring light direction
A subject can be cut out perfectly and still look fake if the shadow points the wrong way or the background is much warmer than the subject. Match light and color before adding decorative effects.
Practical FAQ
What makes a composite look believable?
Clean edges, matching brightness, compatible color temperature, and a grounded shadow matter more than dramatic filters. Solve those first.
Final checklist
- Plan the edit before applying tools.
- Match selection softness to the subject.
- Retouch on a duplicate layer.
- Compare light direction across layers.
- Check the final image at the size people will see.
This guide is intentionally practical: repeat the same steps on a real image, compare the before and after result, and keep the version that communicates the task most clearly.