Overview
Changing image dimensions is one of the most common editing tasks. It is also one of the easiest places to make a visible mistake. The key is to preserve proportions and understand the difference between canvas size and image size.
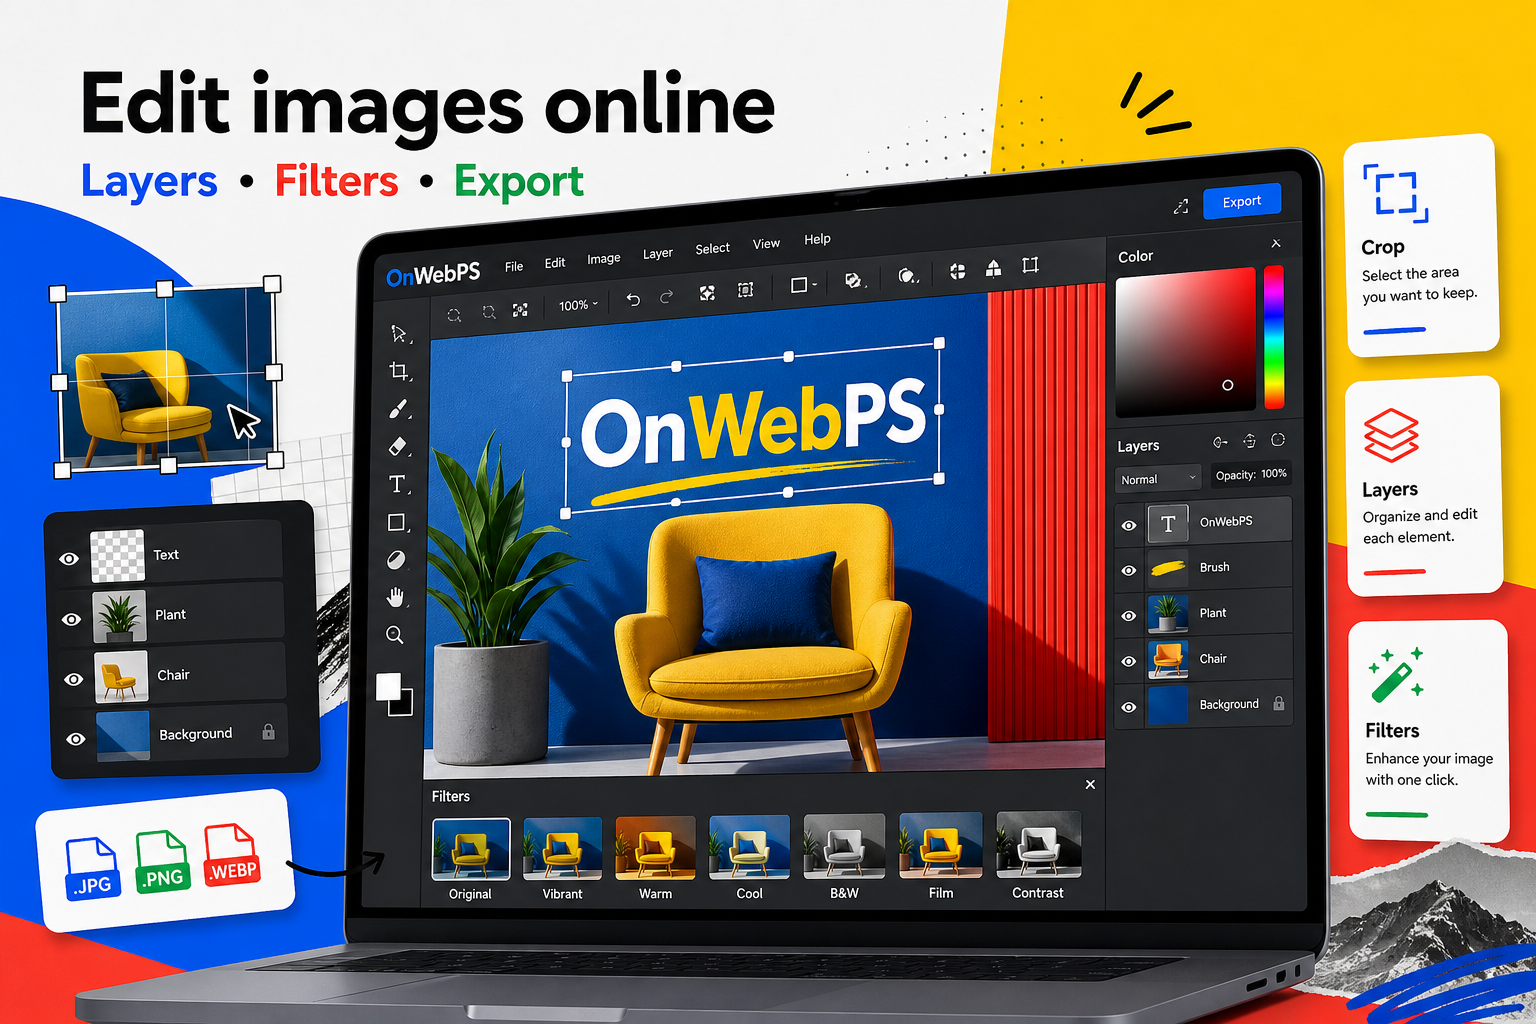
Use a copy of important images, keep reusable elements on separate layers, and decide the final destination before choosing crop, size, and export format.

Understand image size
Image size changes the pixels of the photo itself. If you reduce a large photo, the file usually becomes lighter. If you enlarge a small image too much, it can become soft or pixelated because new detail has to be invented.
In OnWebPS, keep the workflow practical: work on a duplicate when the change is risky, compare the edited result with the original, and export only after checking the image at the size where people will actually see it.
Understand canvas size
Canvas size changes the workspace around the image. It can add empty space for a border, background, or text. It does not have to stretch the existing photo. Use canvas size when you need more room rather than a larger subject.
In OnWebPS, keep the workflow practical: work on a duplicate when the change is risky, compare the edited result with the original, and export only after checking the image at the size where people will actually see it.
Keep aspect ratio on
Aspect ratio protects the natural shape of the subject. Turning it off can stretch people, logos, and products. Only unlock it when you intentionally want a special distortion effect.
In OnWebPS, keep the workflow practical: work on a duplicate when the change is risky, compare the edited result with the original, and export only after checking the image at the size where people will actually see it.
Resize from the best source
Start from the cleanest and largest practical version of the image. Avoid resizing a compressed screenshot multiple times. Each stage can reduce clarity, especially around text and sharp UI elements.
In OnWebPS, keep the workflow practical: work on a duplicate when the change is risky, compare the edited result with the original, and export only after checking the image at the size where people will actually see it.
Check sharpness after export
After resizing, inspect important detail at final size. If it looks slightly soft, use a mild sharpen effect. If it looks noisy or harsh, reduce sharpening and consider exporting at a slightly larger size.
In OnWebPS, keep the workflow practical: work on a duplicate when the change is risky, compare the edited result with the original, and export only after checking the image at the size where people will actually see it.
Concrete example
Example project: making a large camera photo web-ready
Take a 4000-pixel-wide camera image, crop it for a blog card, resize the export to 1200 pixels wide, and save a compressed WebP. The page loads faster while the image still looks sharp in its actual layout.
Common mistake
Common mistake: unlocking aspect ratio accidentally
Unlocked resizing can stretch people, logos, and products. Keep proportions locked unless distortion is the intended visual effect.
Practical FAQ
Can I make a small image large again?
You can enlarge it, but it will not gain true detail. Start from the largest clean source available whenever quality matters.
Final checklist
- Use image size for pixel dimensions.
- Use canvas size for extra space.
- Keep aspect ratio locked.
- Avoid repeated resizing.
- Inspect detail after export.
This guide is intentionally practical: repeat the same steps on a real image, compare the before and after result, and keep the version that communicates the task most clearly.